Draw a sphinx in just 6 easy steps! When visiting Egypt, there is a seemingly endless amount of ancient wonders. The ancient Egyptians were unparalleled in the artistic and architectural marvels they produced, and many of these creations are world-famous. The Great Sphinx near the Giza pyramids is one of them, and this giant statue captivates millions of people worldwide. For this reason, it has also appeared in many artistic representations, and by learning to draw the Sphinx, you will be able to create your works of art with it! If you want to represent this ancient wonder yourself, this tutorial is for you. Our step-by-step manual on removing the Sphinx in just 6 straightforward actions directs you to how you can do it. scary drawings
How to draw the Sphinx – let’s start!
Step 1
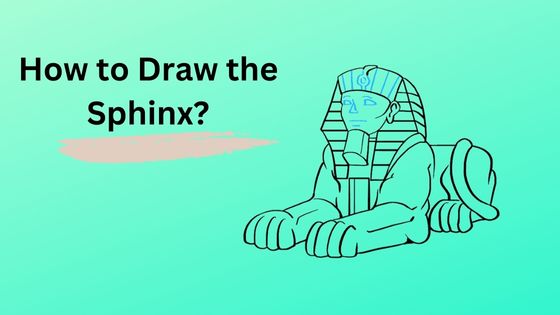
The Sphinx is very different today than it was when it was created, and that is due to thousands and thousands of years of decay and sandstorms. Although it still looks great today despite this, we’ll draw an estimate of what it might have looked like in its glory days. With that in mind, we can start this guide on how to draw the Sphinx. We’ll start by drawing the characteristic Egyptian headrest on top of the head. This will have a small shape in the center that looks a bit like the head of a cobra. This will have a curved edge underneath that will go over your head. Next, draw the Sphinx’s ear underneath, then you can utilize a curved bar for the canopy of the hat. Once this is removed, we can drag on to the dual step.
Step 2: Currently outline the front and more use of the hat.
This dual piece of your Sphinx graphic will allow you to add more to the face contour and hairstyle. First, use curved lines to draw the outline of the face below the edge of the headdress and connect it below the ear. Once the contour of the face has been drawn, we will draw the two sides of the headdress that fall on the shoulders. You can again remove the rear boundaries of the hat in this phase. This one has a distinctive body, so do you’re most valuable to copy it as it occurs in our connection picture. Complete by removing a rare short, curved line under the chin for the extended, thin beard.
Step 3: Draw some details for the sections you have drawn.
Before we begin counting more parts to this illustration, we’ll count some points to the areas you’ve already drawn in this focus on how to remove the Sphinx so outlying. We’ll begin with the beginning, and you’ll directly see something unique if you’ve ever visited the Sphinx. If you look at the Sphinx, you will see that it is cutting its beak, a feature for which it became quite famous. Nevertheless, this was not the topic, and you can draw a suitable nose for the Sphinx in this picture. NeXT, draw rounded shapes for the eyes in white, then draw a neutral mouth. You can complete this step by adding many line details to the hairstyle and beard.
Step 4: Following, remove the beginning of the body.
The statue’s body is created to peek like a resting lion, so we will start drawing it in this part of the Sphinx. Use a few curved bars for the front shoulder of the Sphinx, and then extend a few more curved lines from the lead for the beginning of the rear and rear portions. Then draw the beginning of the front legs, which rest on the ground and extend well before the Sphinx. Once these lines are drawn, we can complete this diagram in the next step of the guide.
Step 5 – Add Final Details to Your Sphinx Drawing
This fifth step of our guide on drawing the Sphinx will help you complete all the outlines and prepare you to have fun coloring. You can finish the base of the other front leg with the bottom of the remainder of the body in this phase. Then be certain to count any other last facts you may have forgotten! Once done, you can also add some extra touches, like a background. You could draw the desert and even the pyramids in the background for an idea, but how do you plan to finish that?
Step 6: Finish your Sphinx drawing with color.
In real life, the Sphinx is made of limestone, and we show it with the colors we used in our reference image for this drawing of the Sphinx. This means that we use. Then be certain to count any other last facts you may have forgotten! Once done, you can also add some extra touches, like a background. You could draw the desert and even the pyramids in the background for an idea, but how do you plan to finish that?